hello everyone,
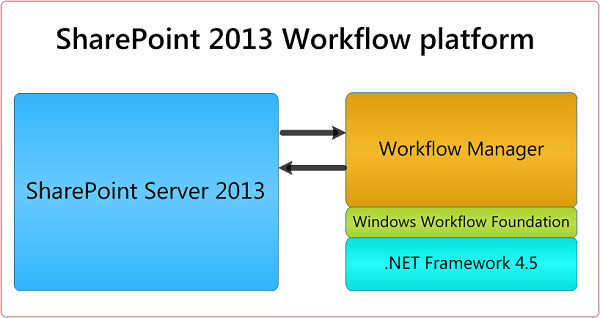
You need to read and know about intro to workflow , lookup , impersonation before getting started. Let's talk about the share point workflow.I have observed there are very few posts about how to create a workflow using Share Point Designer.
today we will see how to create a workflow to send an Email notification to the user/customer.just follow below steps and you can easily learn about creating a workflow in share point.
first of all create a list.
Create 3 fields Title , EmpID and EmpName
- Open Share Point Designer 2010/2013
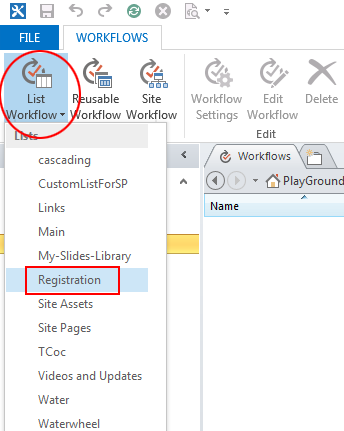
- go to workflows, click on 'list workflow' select the list name 'Registration'
- see image below for your reference
- Name your workflow. you can give any name you want. i have named it as "Registrationwrkflow"

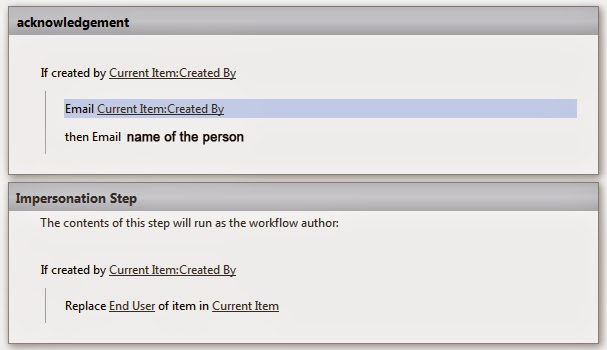
- now you need to create something like this. for this , you must know about lookup and impersonation steps in SharePoint Designer.(Sorry ,but you must learn it on your own !)
we are almost there, just few steps and you are done.*
- after creating workflow, click on 'save'
- go to the workflow start options. your settings should look like below image.

and then 'publish' your workflow.Keep in mind, workflow can not start unless you 'publish' it.
try to add an item and check for workflow status (you can enable workflow status column from list settings > views> all items> workflow name).
*Note-To test the workflow, you can put your email id in "mail" option so that you can get a notification.
have fun !
No comments:
Post a Comment